SUPER CHEAP SELF-BUILDING VAN FLOORING
Full Guide For A (Very) Low-Cost Van Floor InstallationHere it is, our complete guide to install a very, very, very cheap floor in your van!
A floor is useful for many functions in your van conversion. It needs to be a solid base to attach your furniture, it has to be sound deadening and useful to thermal insulation.
Before jumping to all the necessary steps, let’s just say that we did not have a high budget for converting our van. However, we didn’t want to give up our dreams: we read so many guides about van flooring, but all required materials were way out of our budget. Therefore, we found our own way. And, until now, we haven’t had any issue with that.
This article may contain affiliate / compensated links. For full information, please see our disclaimer here.
Editor’s note: This guide is not made by professionals. We have never heard of someone using the same materials we have. It worked fantastically for us, but we can’t assure you will not encounter any issues along the way. It is, however, a very good alternative to install the flooring in your van if you are tight on a budget.
Materials used
So, as I explained in the insulation guide, we decided to cover all the walls, ceiling and floor with a thermal vapour barrier. This is to prevent dump and rust.
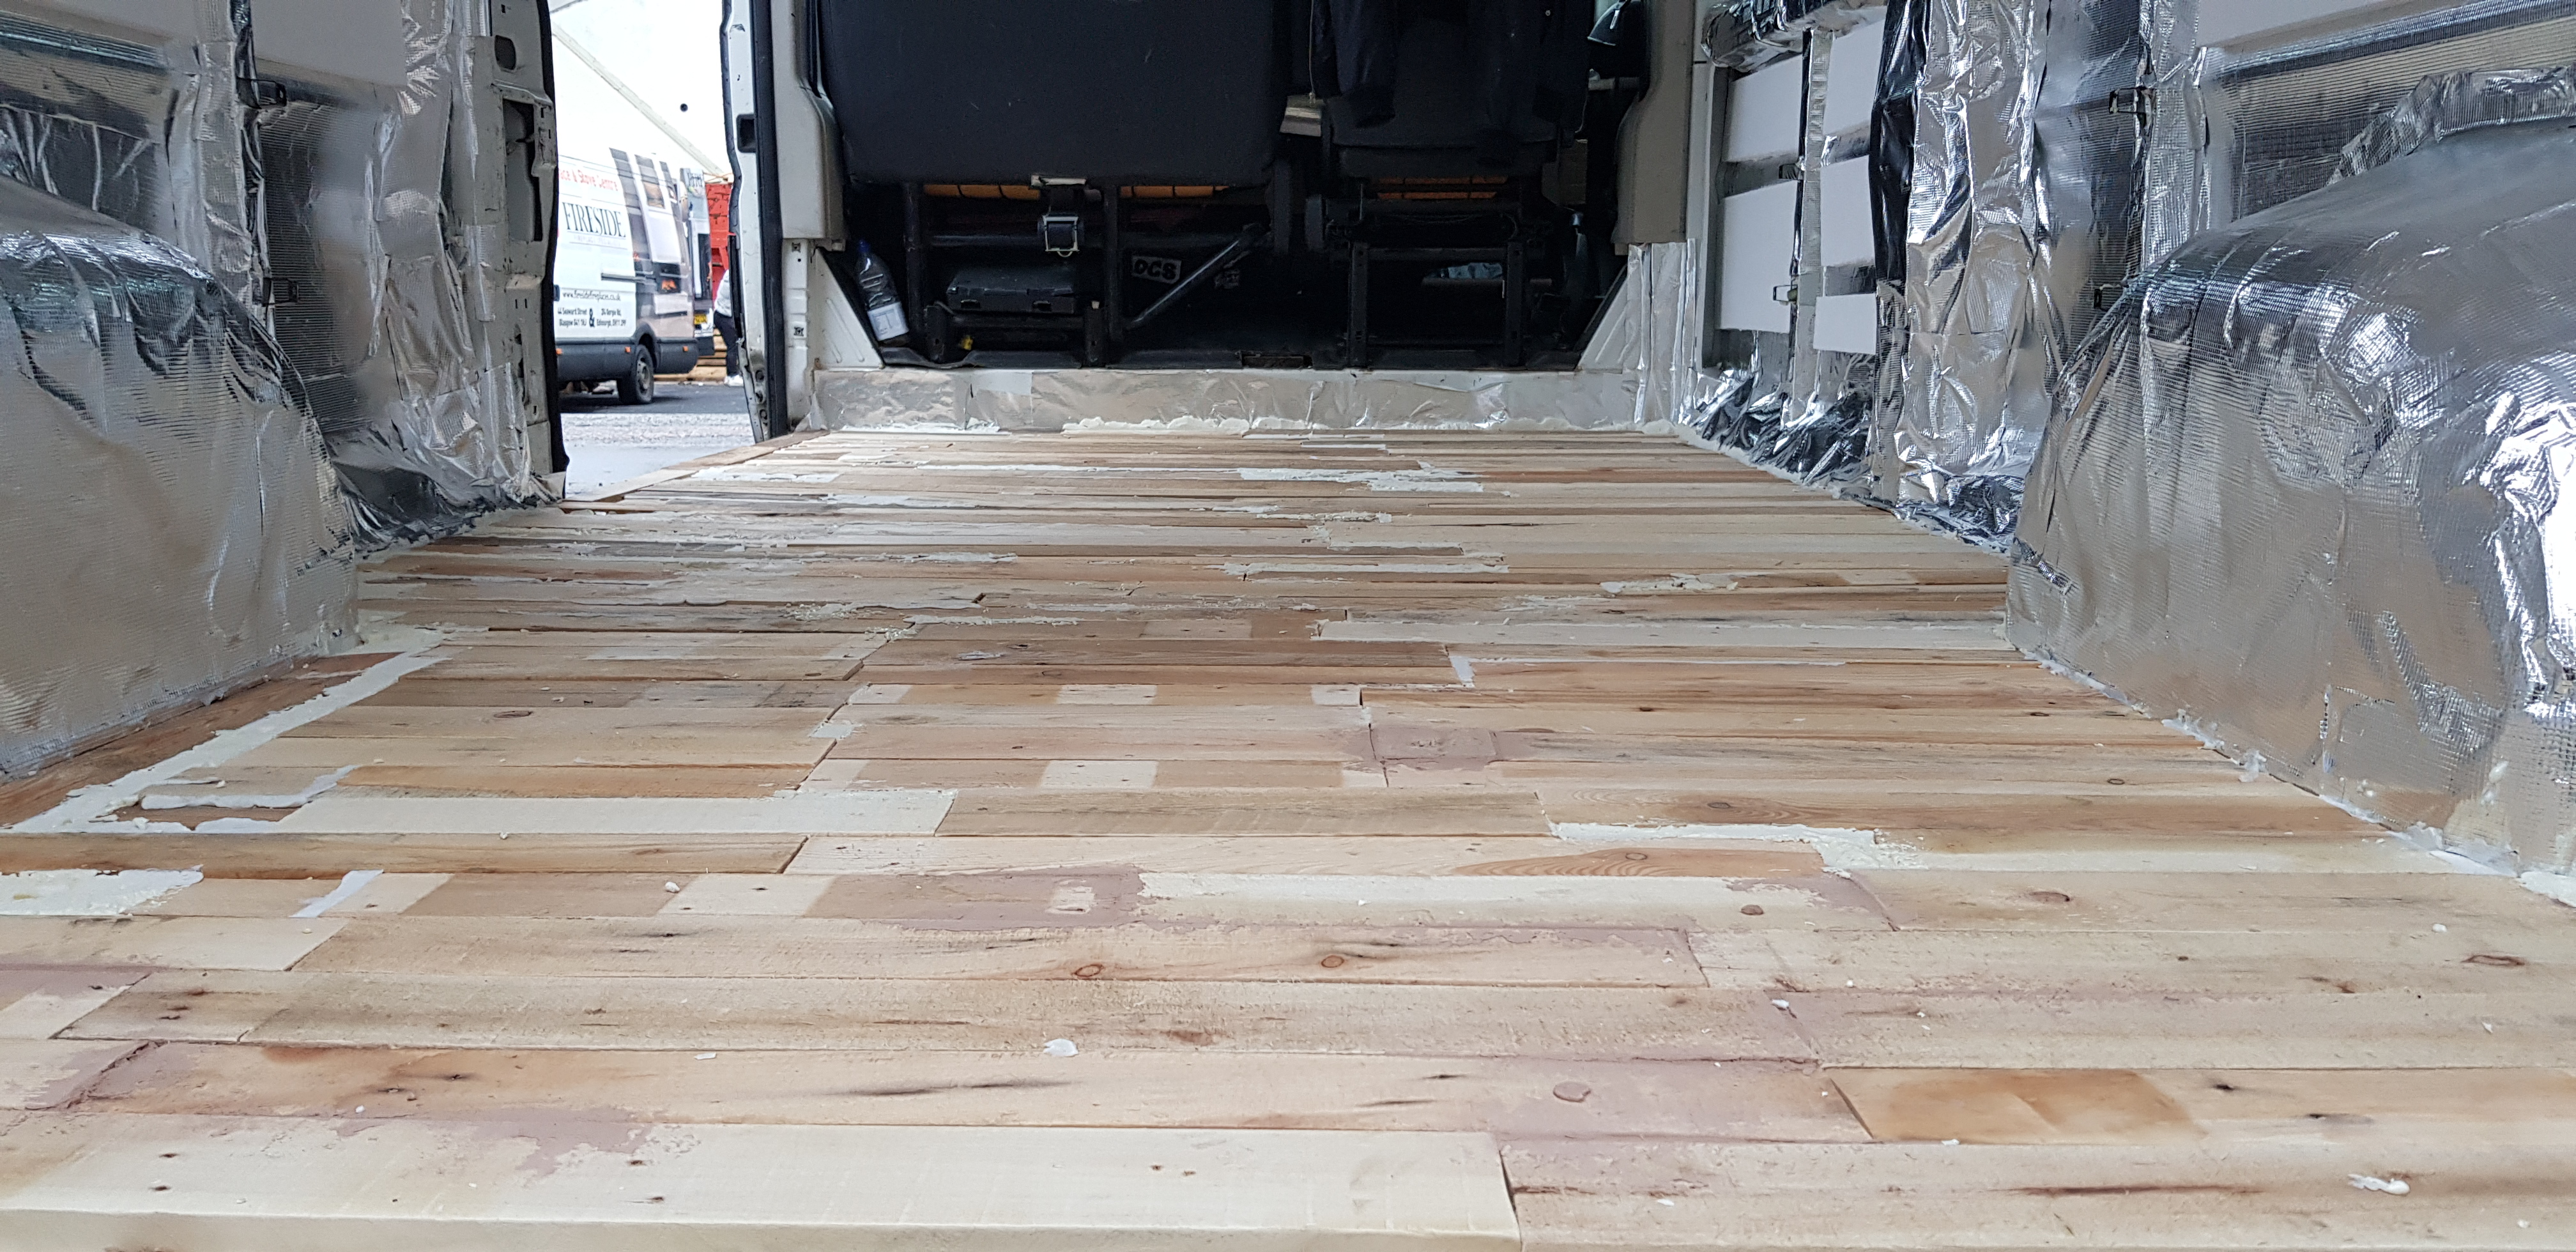
Once the vapour barrier was attached to the floor, we needed to find a way to create solid flooring and fill the van floor gaps. This was when we decided to use pallets! We got all of them for free, and we cut them to the sizes we needed. Next, we created our base with the pallets and filled some gaps with expanding foam (also good for insulating).
Then, we wanted to make sure our floor was well insulated and sound deadening. So, we installed cork tiles over the first layer of pallets. Cork is an excellent material, as it reduces vibrations, deadens sound, is really lightweight, and is very cheap and easy to install!
Let’s see how we installed our van floor, step-by-step.

Shopping list
→ Vapor Thermal Insulation Foil
→ Expanding Foam (One was enough for us)
→ Cutter
→ Pallets
→ Adhesive Floor Covering
Step by step

If you haven’t already done so, the first step is to clean your floor, fill all the holes and attach the vapour barrier using high strength glue.
That will be our first layer. You then need to cut the pallets (carefully take the screws out) and even the batons with sandpaper. It is hard work, but it saved us so much money!
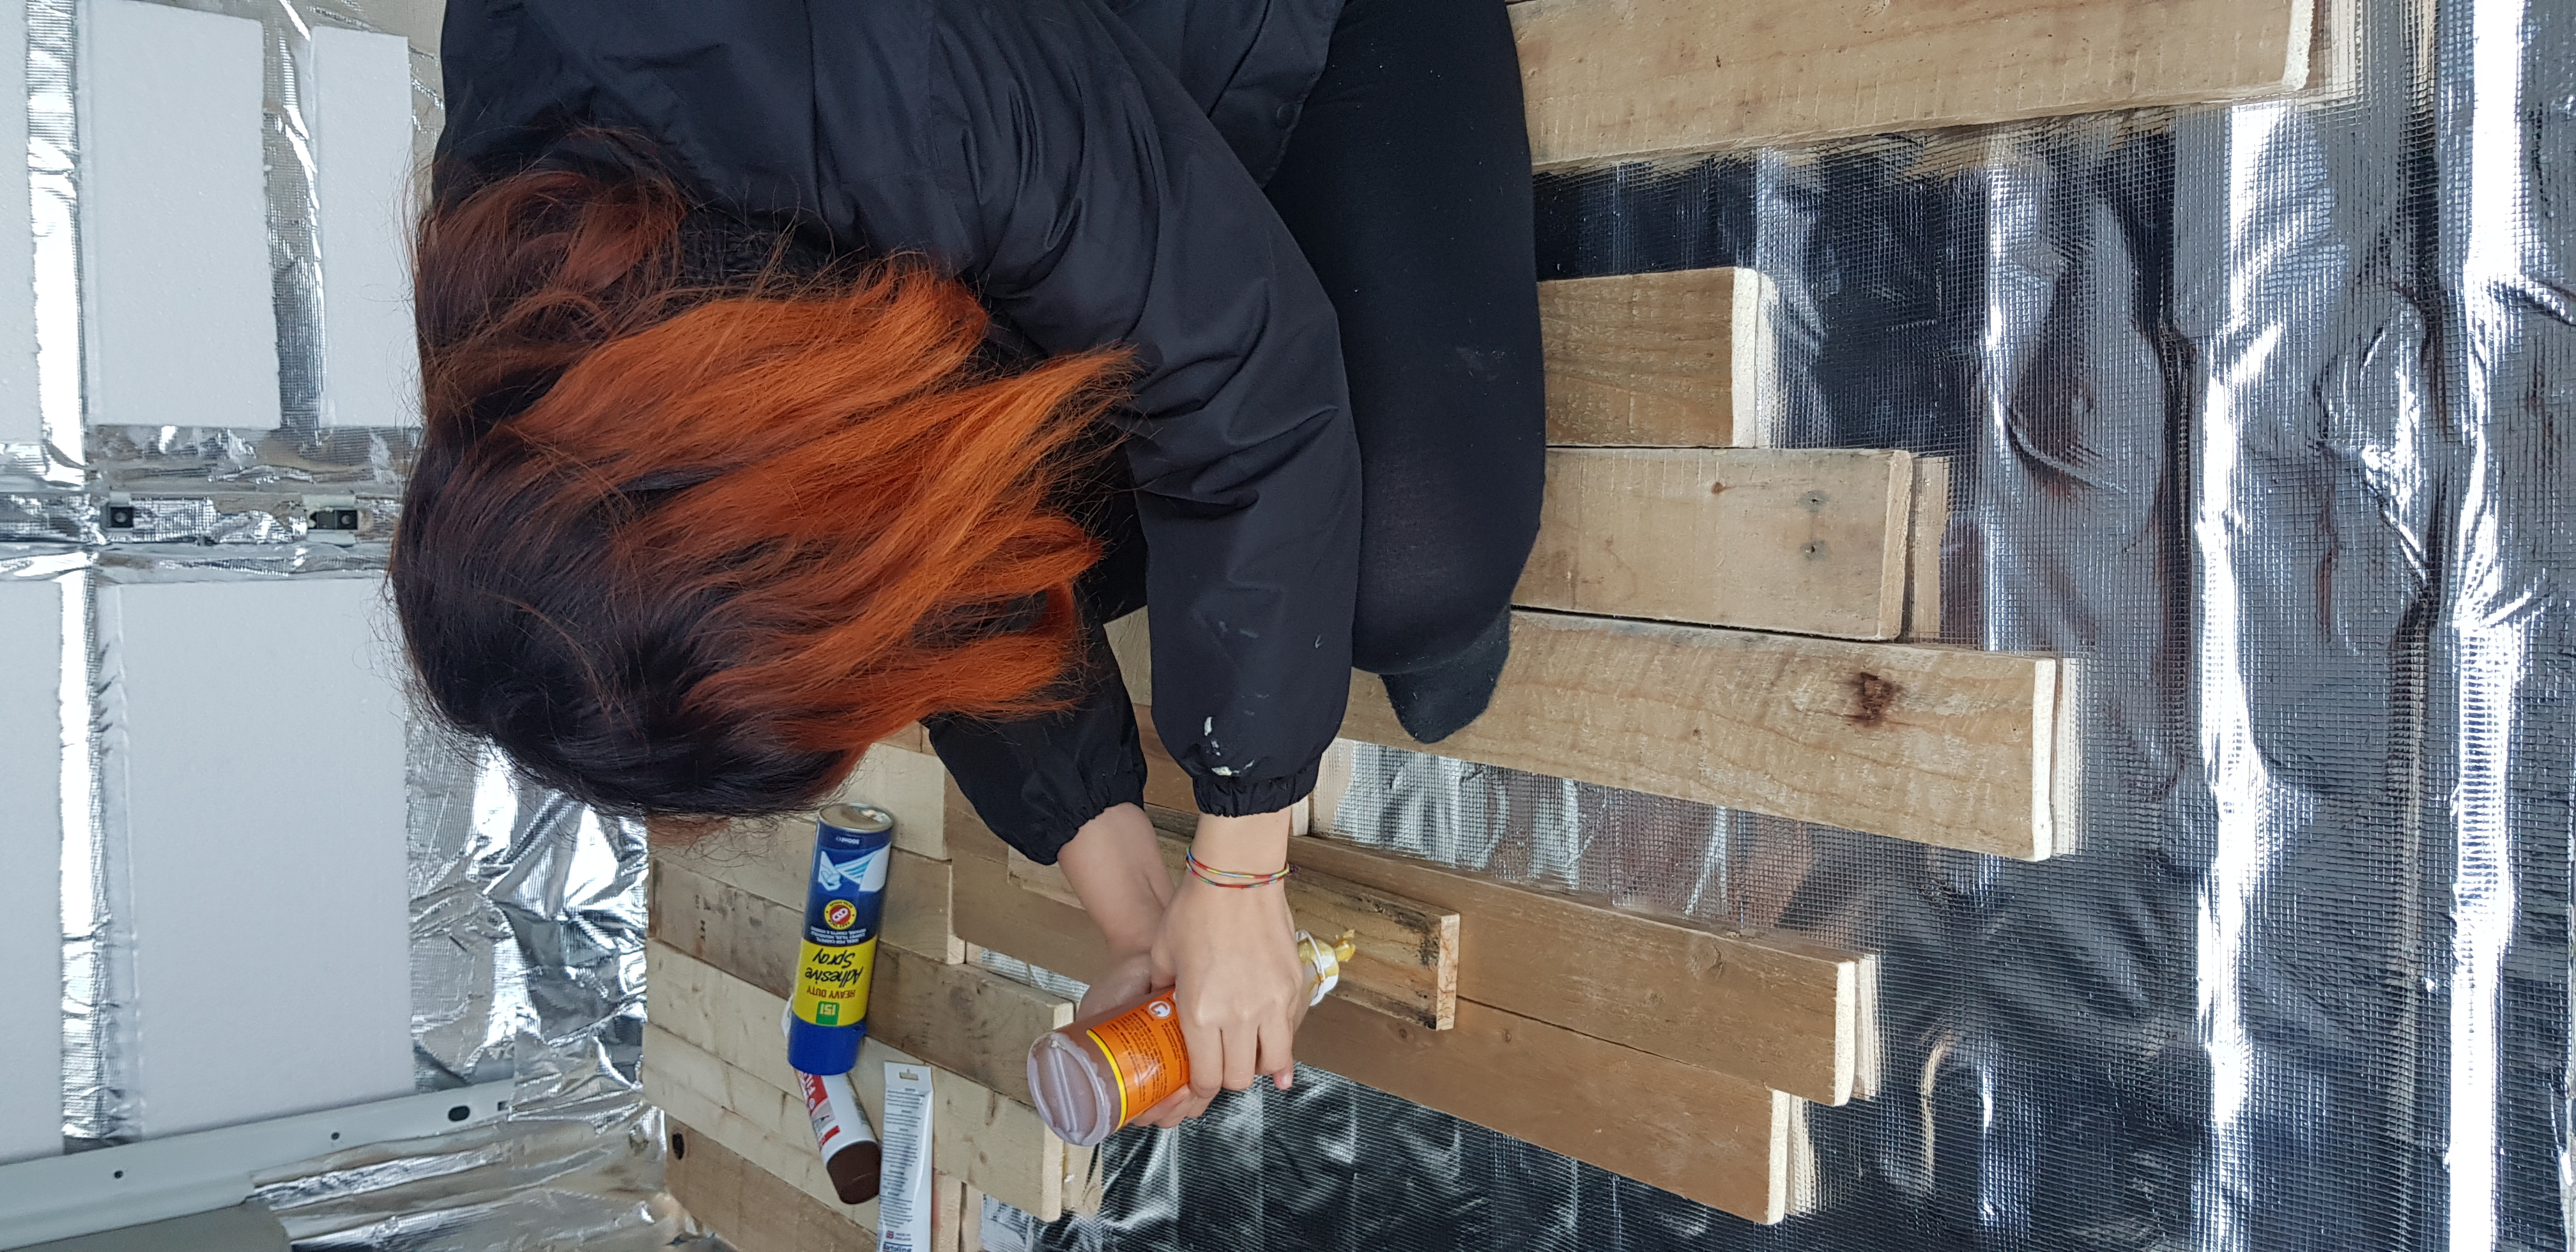
The next step is to attach the pallets to the floor, opposite to the van gaps. The van gaps usually go from the back to the front, so we out the pallets from side to side to create more stability. Use a very high strength glue to attach the pallets (we used Gorilla).
You will find that there are some small gaps between the pallets, and those need to be filled. First, spray some expanded foam in the gaps. Once dried, cut out the excess foam and even out the floor layer.
The last step is to attach the cork boards to it (again, even though the boards were already self-adhesive, we also used some Gorilla glue to make sure they were properly attached). Once done, you can apply an adhesive floor covering of the style you prefer. I’d suggest you do this after installing your furniture!
Steps:
→ Clean the van floor and fill all the holes (we used sikaflex)
→ Glue the vapour barrier
→ Cut the pallets and take out all the screws
→ Attach the pallets to the vapour barrier layer
→ Fill the gaps with expanding foam
→ Once dried, cut out the excess foam
→ Glue the cork boards on it
→ Use an adhesive floor covering of your preferred style
Your van floor is ready!
Kikka
EDITOR IN CHIEF


![Cheap Van Conversion – The Costs To Convert A Van Into A Campervan [2024]](https://kikkasvoyage.com/wp-content/uploads/2022/04/mannaggiaaa-a-diooooo-1-400x250.jpg)

0 Comments