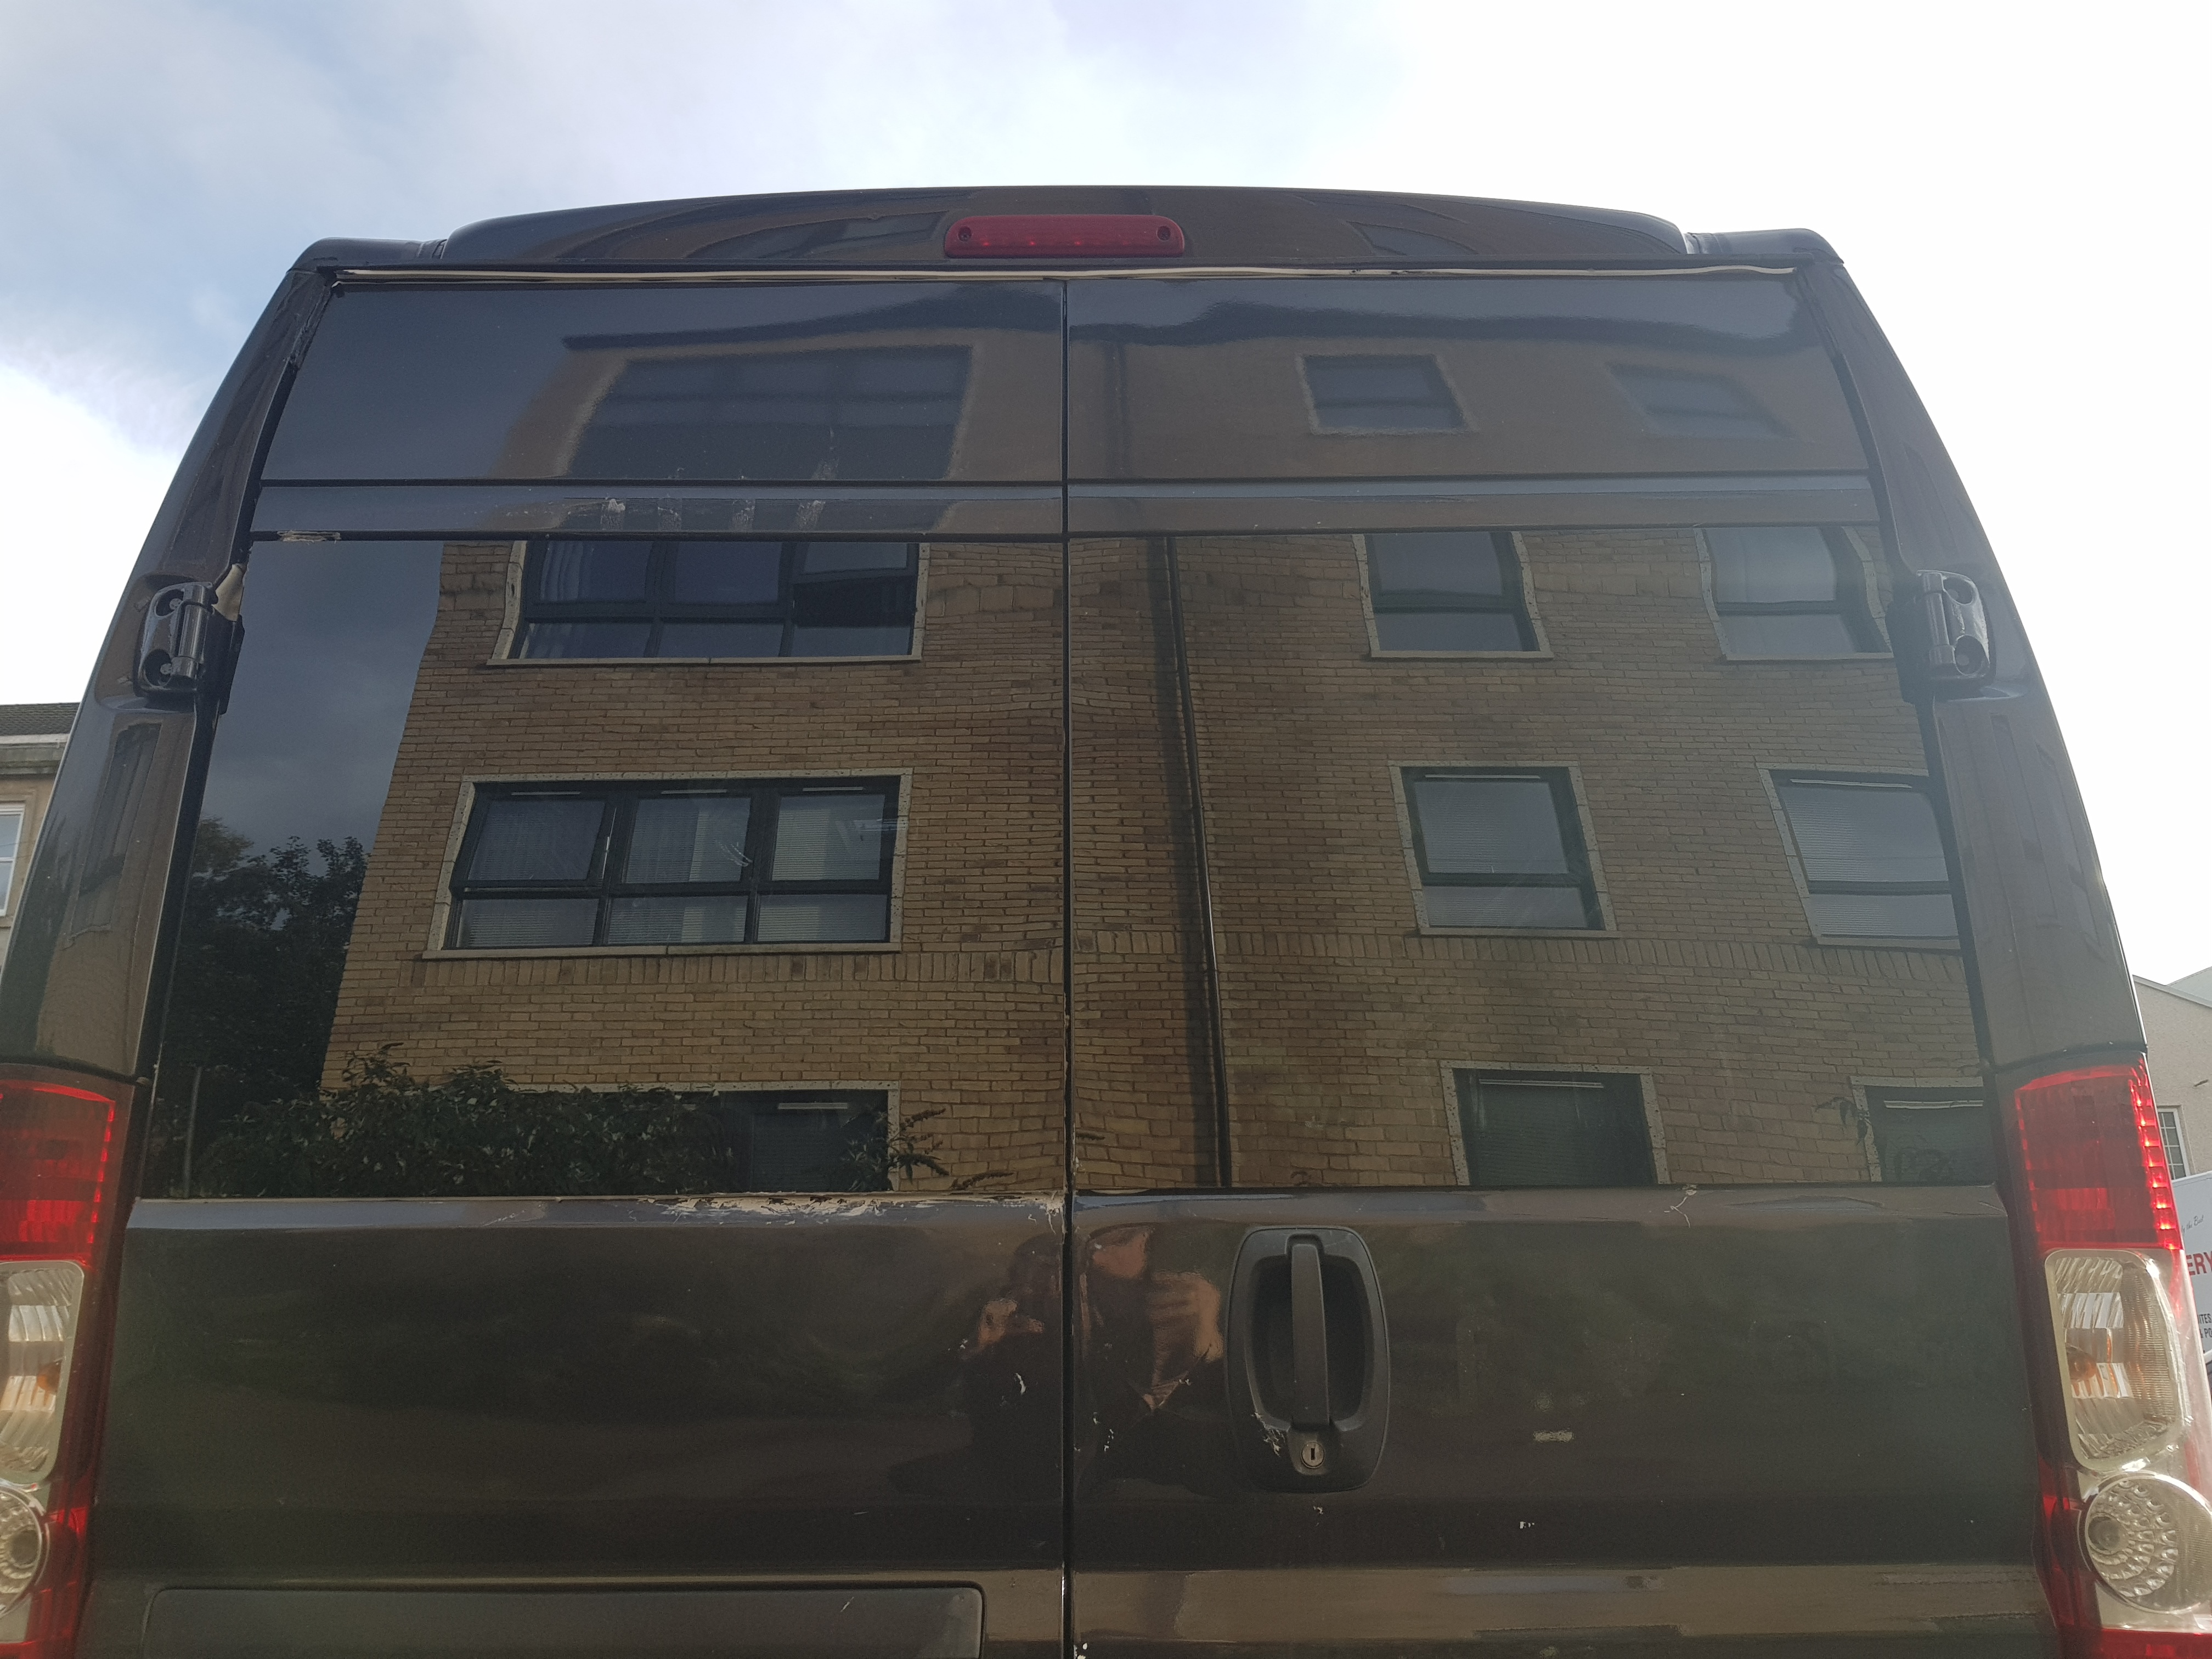
FIXED WINDOWS AND SKYLIGHT INSTALLATION
Step By Step Guide With Tutorial VideoSo, you have just decided to convert your panel van into a campervan, and you are excited to jump into the first steps of your conversion. But, if you are starting as a complete beginner (just like we did), you need a good guide to know what materials to buy and the steps to follow.
Well, look no further; we got you covered!
The first step (especially if you are going to insulate your van) is to install windows. It may sound scary, but don’t worry, it’s easier than it looks!
We installed our fixed rear double door windows and skylight just a month ago, and we decided to document it all to make things easier for you and help you avoid the mistakes we made!
So, let’s jump into the steps!
This article may contain affiliate / compensated links. For full information, please see our disclaimer here.
Choose windows type and position

The first important decision you will have to make is the position of your windows.
It is important to keep in mind that the main point of installing windows for a van conversion is to make it brighter. However, if you choose to add several and/or big windows, keep in mind that your campervan will be less insulated, thus becoming colder or warmer.
We chose to install rear double door windows to make the campervan look longer and “bigger”. Also, we will position the bed right under the windows, and I quite like the idea of lying on the bed and looking at the landscape outside (I can’t wait!!).
We also decided to add a skylight close to the side door. A skylight is an excellent option because it gives more light to the space and is great for ventilation.
Regarding the type of windows, we decided to go for fixed windows (the original windows used by van manufacturers). If you choose to go for windows with an opening mechanism, keep in mind that these could make it easier to break in.
However, you would have more air flowing, which is essential if you don’t install a proper ventilation system!
Materials needed
→ Windows
→ Skylight
→ Adhesive / Sealant / Filler (We used one tube per window)
→ Screws (For the skylight)
Step by step
Fixed windows
Since we decided to install the fixed rear double door windows, we followed the shape of the panels on the van body. This way, we didn’t have to measure the window a hundred times before cutting the hole!
We made several small holes from the inside of the van to determine the line to cut. Then, we cut out the panel with the cordless jigsaw from the outside. We tried to cut it from the inside, as it would have been easier to follow the square shape where the windows should be fitted. However, during the process, we noticed that while cutting, the pressure from the inside was making the internal panel separate from the outside one. So, we cut it from the outside, following the holes previously made with the drill. Remember to attach a glass sucker to the panel you are cutting to have a hold on it!
Steps:
→ Attach a glass sucker to the panel you are about to remove.
→ Drill holes following the shape of the panel to cut (from the inside).
→ Cut the panel out following the shape made by the holes (from the outside).
Once you’ve cut out the panels (you made it!!), you need to treat the hole to prevent rust.
Steps:
→ File sharp edges with a metal file
→ Spray anti-rust
→ Apply black rubber to the internal part
Now, you are ready to fit your window!
Steps:
→ Apply glass sucker to the glass
→ Clean the glass
→ Apply adhesive on the internal frame
→ Position the window
→ Press the window and add duck tape to keep it in place and prevent it from sliding away while the glue dries
YOU DID IT!
Editor’s note: If you live in a rainy place, I suggest you keep the window covered until the adhesive dries completely (that’s what we did!).
Tutorial video
Check out these similar articles!
Kikka
EDITOR IN CHIEF


